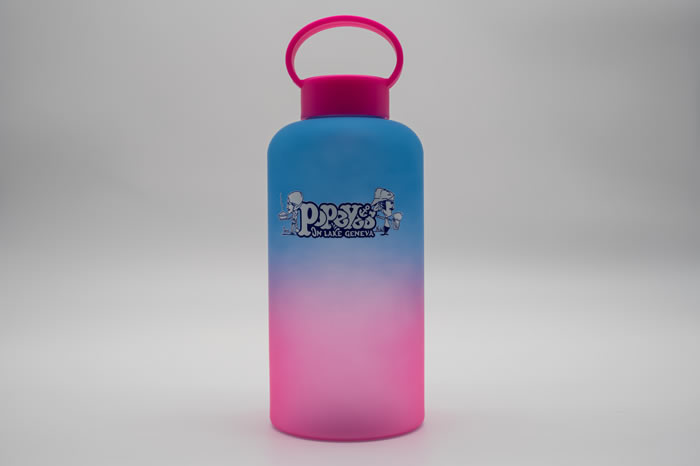
DISHWASHER RESISTANT
INNOVATIVE PRODUCTS TO BRING YOUR AWESOME DESIGN TO LIFE
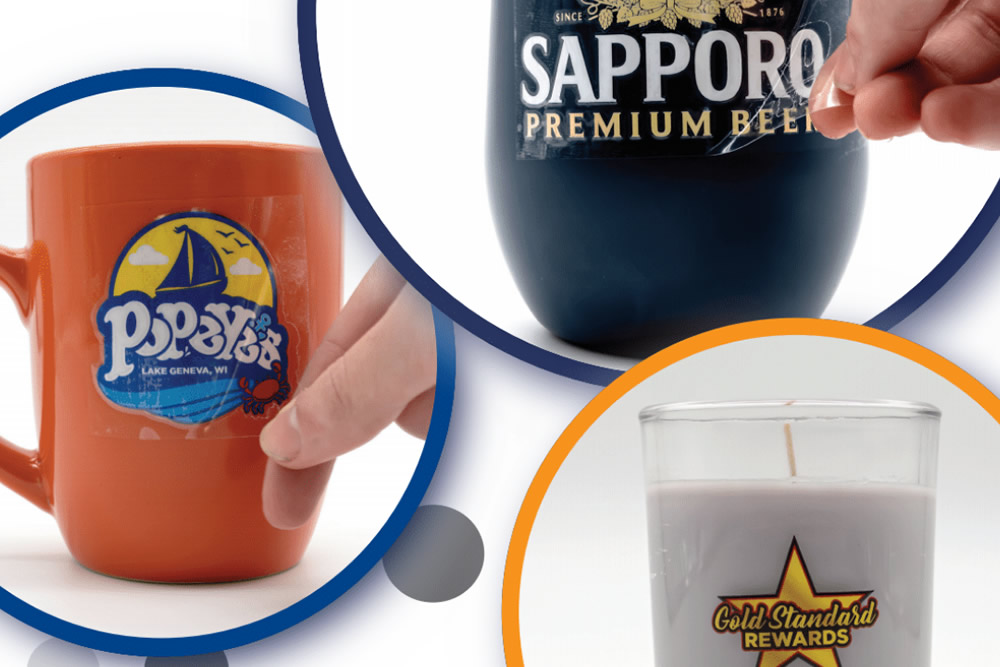
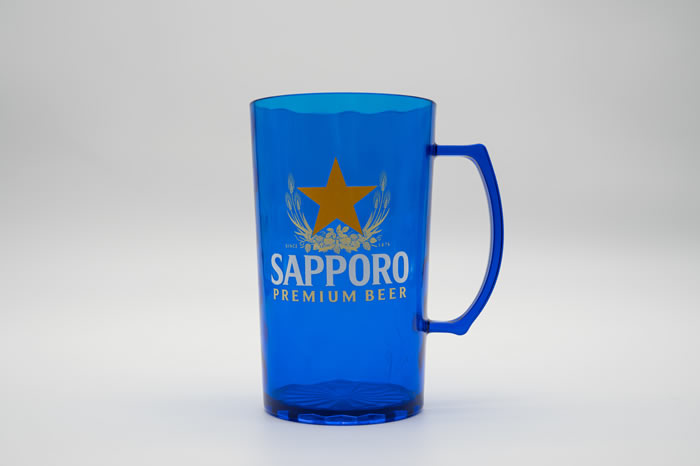
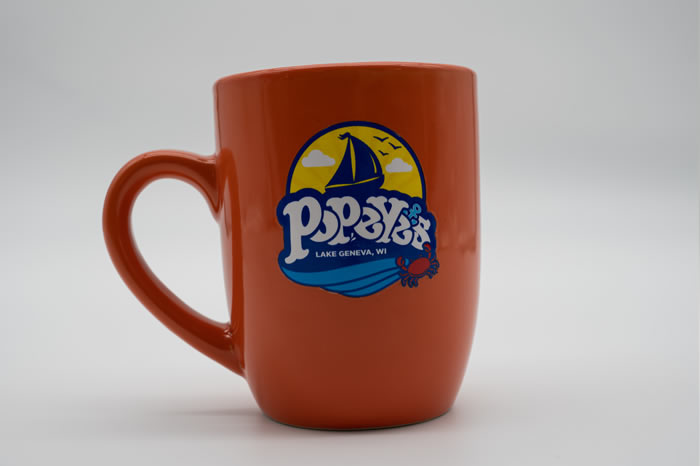
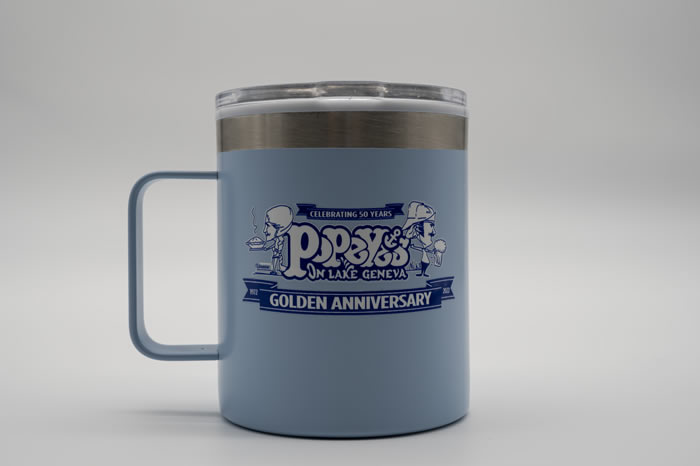
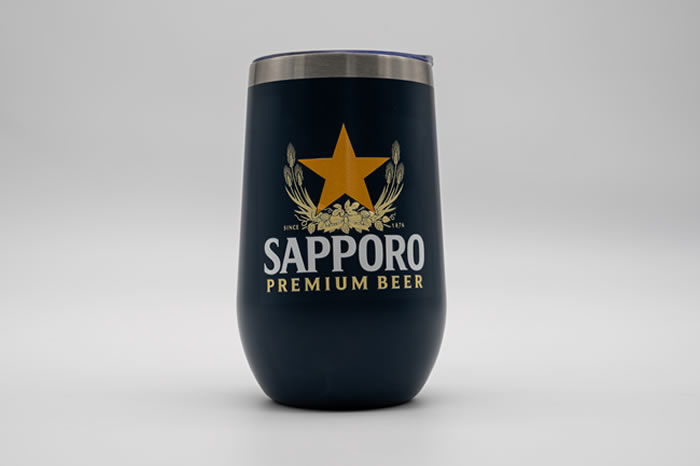
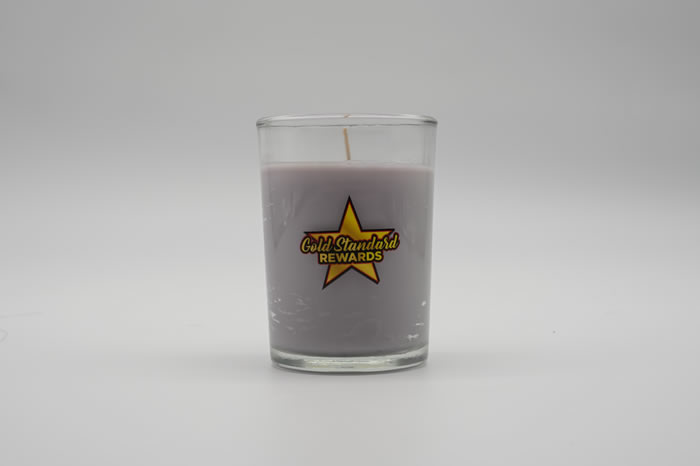
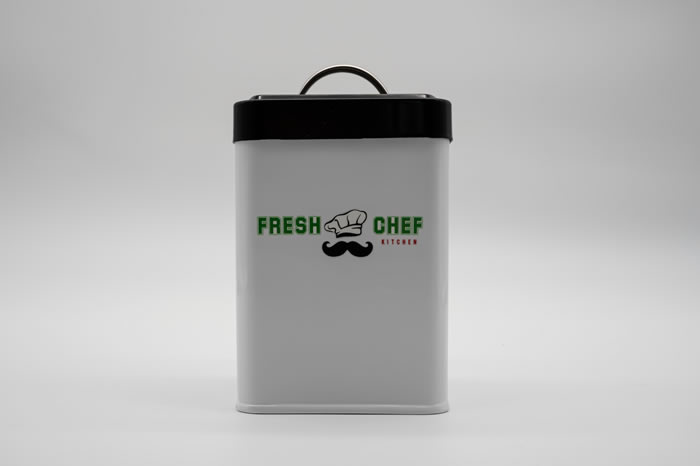
Magic Film Decals are an excellent alternative to stickers and cut vinyl products. Magic Film produces bold and fine detailed (Ink/Image only) transferable graphic appliques, requiring No Weeding. Magic Decals produced using either (DR) or (XP) Transfer Films are extremely durable, offering scuff, and scratch resistance with a tough protective finish. Magic Decals are also capable of withstanding exposure to harsh chemicals, and cleaning solutions. Magic Decals have an aggressive adhesive, which provides superior adhesion to a wide variety of surfaces. Magic Decals are the answer for short run product customization, without large minimum order quantities (MOQ’s). Ideal for decorating difficult objects that are not capable of being directly printed to. Magic Decal applications are limited only by your imagination!
PROCESSING INSTRUCTIONS FOR MAGIC FILM (DR) DISHWASHER RESISTANT
1. With adhesive side of White Paper A-Film facing up (Clear Protective Film Up), secure to print bed using vacuum.If your printer does not have vacuum, secure A-Film to metal plate or other rigid support material using tape around all 4 edges. Note: With this method, you must first remove the protective clear film from the adhesive surface.
2. If A-Film has been secured to metal plate or other rigid support material, place on print bed and proceed to next step (3). If A-Film is secured to print bed by vacuum, proceed to next step (2a).
2a - Once A-Film is secured, remove the protective (clear) face liner from the White Adhesive Paper, tape around all 4 edges and proceed to next step (3).
3. RIP the image and start printing. IMPORTANT! Quality and Durability of the transfer decal produced is determined by the following factors. First, the most important factor is the ink set that is installed in your printer. If the ink set installed is “too hard”, the decal may crack or fracture when being applied to surfaces with complex curvatures or sharp corners. Conversely, if the ink set installed is “too flexible/soft”, the decal will tend to bubble or have an orange peel effect. This phenomenon will happen during application, or after it has been applied. Refer to recommended printers, ink sets, and layering instructions. The second important factor is which layering structure option you choose. Refer to layering structure options, found in the printers, ink sets, and layering instructions section. Last but not least, is the performance of the printer and profiling software being used.
4. After artwork has finished printing, you are now ready to apply the B-Film (transfer film) to the printed surface of the A-Film. Using firm pressure only, COLD laminate B-Film and A-Film together. Cover the artwork on A-Film with the GLOSSY side of B-Film FACING DOWN. It is recommended using a metal plate, or other rigid support material when laminating. Any support material offering rigidity will help eliminate bubbles, tunneling, and creases between image(s) on A-Film and transfer B-Film.
5. Cut out desired image(s) using scissors, razor blade or plotter cutter.
6. Separating A and B Film for decal application. NOTE: For best results, we recommend that you use the following procedure:
A. With decal cut out, the A-Film’s white backing should be facing up, with artwork and laminated B-Film Facing Down.
B. Hold a common corner of the decal and begin separating the A and B Film with your fingertips. Then hold the exposed/separated corner of the B-Film with one set of fingertips, and with the other set start to GENTLY roll back the white backing from the B-Film. Continue rolling back the white backing, while at the same time slowly pulling away the B-Film. When doing this, continue checking to ensure that all artwork is properly releasing from the A-Film, and transferring onto the B-Film. If images/ink starts to “hang back”, lay the A-Film back down and press on the B-Film to help recapture the held back images/ink. If necessary, repeat until all artwork is attached to B-Film and completely separated from the A-Film. Discard white paper backing, and you are ready to apply your Magic Film decal.
7. Applying decal. Care should be taken applying decal to avoid trapping air bubbles between decal and target surface. Clean all surfaces with alcohol to help ensure proper adhesion. Place decal onto object to be decorated. NOTE: Make sure that decal is properly placed in its intended location. Once decal comes in contact with surface, it CAN NOT be repositioned. Rub/press firmly over entire image area of decal to ensure that it is completely adhered. Using slow to medium speed, peel the transfer B-Film away. NOTE: For some applications, you may find it helpful to apply warm air to the surface of the decal for 5-10 seconds using a standard hair dryer, do not use a heat gun. Doing this prior to peeling off the transfer B-film will help soften the adhesive, making it easier to remove from the target surface. You have successfully applied your decal!
MAGIC FILM STORAGE:
NOTE: When possible, keep Magic Film in its original packaging, stored flat in a cool dry place. It is recommended to use finished Magic Film decals within 2-4 weeks after printing.
